Patterned Paper for Card Making | Using Scraps
Patterned paper for card making is like peanut butter & jelly. You don't have to have the jelly, but many times it just tastes better 🙂
You are all loving the Bubbles & Fizz patterned paper as much as I do! I am using it and using it and have a bunch of little scraps. We can't let those gems meet their demise in the trash can, of course, so let me show you this fun trick.
The Supplies
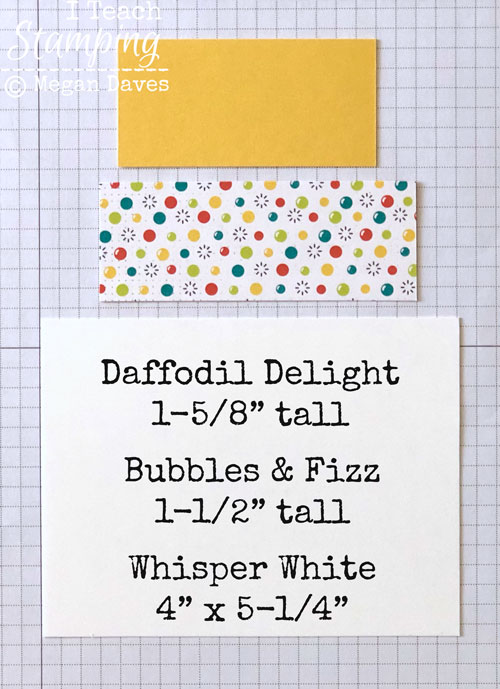
Before we begin, let's quickly review the supplies. Please keep in mind that the Bubbles & Fizz paper is retiring on 3-31-18, so if you want it, or want more of it, be sure to place your order with me here before it goes away.


Step 1
You don't need a bunch of this first patterned paper. Mine is 1-1/2″ x 3-1/2″. In all honesty, I could have used two pieces of 1-1/2″ x 3/4″ and been fine. But this card was about scraps and building a card using them, I didn't know what it was going to be when I first started.
Then you want a piece of Daffodil Delight card stock that is just slightly bigger, mine is 1-5/8″ x 3″ – again, this is a scrap.
And then your Whisper White panel that is 4″ x 5-1/4″
Step 2
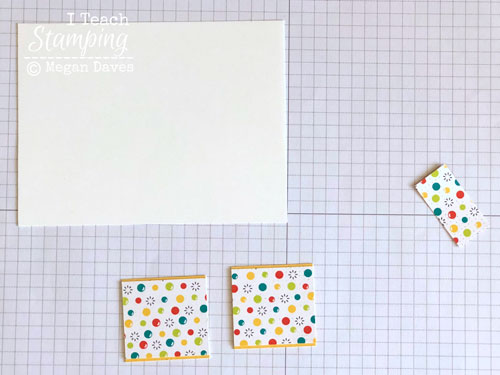
Next you will want to layer your patterned paper onto your Daffodil Delight. My patterned paper was longer than my yellow, so I trimmed off the rest.
Step 3
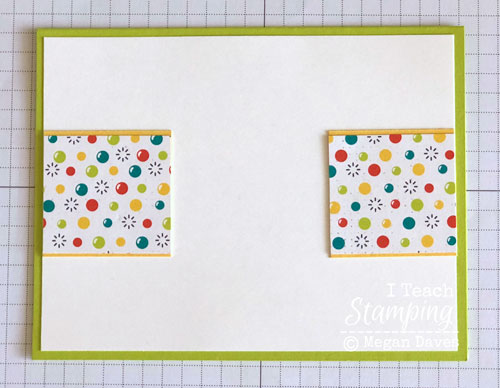
It's time to put these layered pieces onto our Whisper White panel. I used my grid paper to make sure it was level across my white, and both layers are flush to the edges.

Step 4
Pick out your card base color, I went with Lemon Lime Twist that is 5-1/2″ x 8-1/2″ for my card base.
Step 5
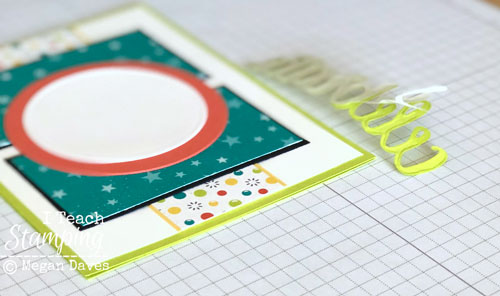
Time to die cut our words. This die is part of the Celebrate You Thinlits Dies. They are also a Sale-a-Bration item, but unlike the Bubbles & Fizz paper, these will be in the next big catalog.
Many of you have been pleasantly surprised to see the size of this die. At first glance, it looks like it would die cut out the word ‘celebrate' in the Amazing You Sale-a-Bration stamp set since the fonts are the same. They are not at all the same size.
You will see the real size of it as we go on…
Before I die cut my words, I cut and attached a piece of the Adhesive Sheets to the back of a scrap of Lemon Lime Twist that was just big enough for my die. By doing this, I made that entire piece of Lemon Lime Twist a giant sticker. Then you die cut and your entire word is now a die cut word sticker!

Step 6
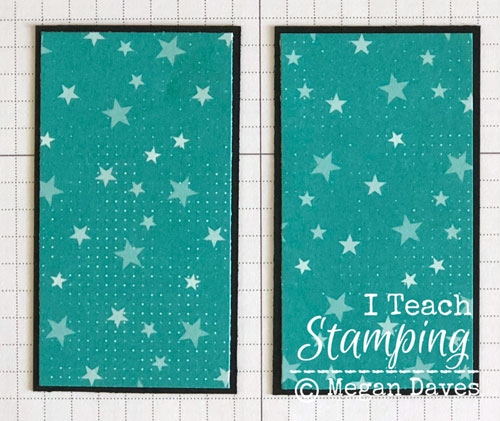
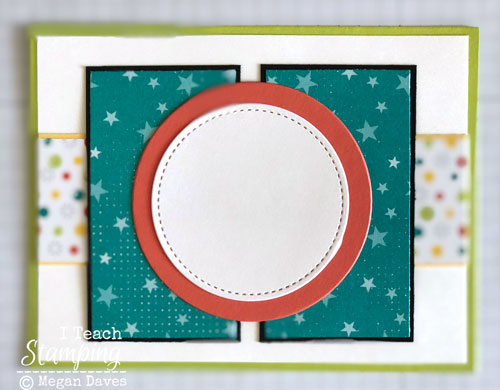
There was also a scrap of the blue star patterned paper laying around. It was 3-1/4″ x 3-1/2″ big. When I put it on my card, it was greatly out of proportion. After staring at it for longer than I really care to admit, I decided it just wasn't long enough. I have yet to figure out how to grow my own paper, so it was time to think out of the box.
My solution was to cut it in half and split it apart. Adding a Basic Black mat behind each really helped the blue patterned paper pop. You can come up with so many solutions for using patterned paper for card making!!!
Step 7
After putting the layers onto the card front – and remember, we split the layer below this one in Step 3 – so there was a big gap on our card front. Circles solved the problem. A layer of Calypso Coral and a Whisper White circle on top really not only covered the space, but by using the Stitched Shapes on the Whisper White, it helped add texture to this card. (My white circle is about 2-3/8″ in diameter and my coral is about 2-7/8″ in diameter.)
This picture is a bit different, I focused in greatly on the stitching on that white circle.
Step 8
Almost done! Time to peel the sticker backing off the die cut word. It removes easier that you might think it does. And then all you need to do is place it across your card.
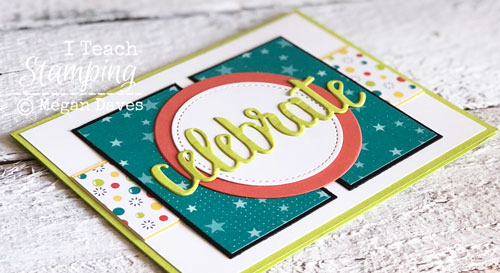
Ta-Da
Here it is all finished! No one would ever know that this card was created to use up scraps!
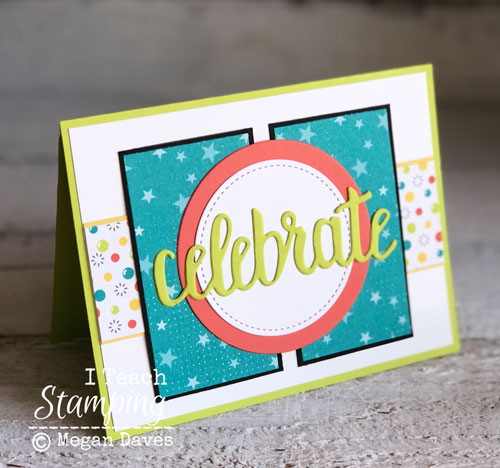
I love all the detail in this card!
Alrighty my friends, in just a couple of days, you won't hear me talk anymore about Sale-a-Bration. It will be all gone for 2018 and we will have to wait another 9 months to see it again. So be sure that you have gotten all of your goodies that you want before it all (mostly) retires. Click here and on the left hand side, click on Sale-A-Bration, you will see everything that is a Sale-a-Bration item. (The Basket Weave embossing folder – not the stamp set in the SAB bundle – and the Celebrate You Thinlits will be in the next catalog, but the rest is outta here in just three days.
If you want to see more project ideas with Sale-A-Bration items, click here.
Using patterned paper for card making is a lot of fun, using up scraps of it is simply divine!


This is cute. Great use of scraps. I pinned it so I will have a reference when I get down to scraps of my Bubble & Fizz papers.
Awesome Donna!
What a great card,love the colour combination,thank you for sharing it.
That is beautiful! I love all these colors and patterns together. Pinned.