Card Background Design – Simple and Spectacular!
You will never look at card background design the same way with this tip!
I love creating my own card background design ideas. It's both a creative challenge and often has stunning effects. And today I am going to share a PRO TIP so simple it will blow your mind. With some ink pads and blending brushes, the possibilities are endless!
Before we dive into the how, let me share the project with you…
The Project
I love, love, love this card background design – and I love that the ink doesn't go all the way to the edges, it just becomes lighter and fades out.
Fun, right? And you can do this with any colors of ink!
The main trick to this is using a tool that I think everyone should have, it's called Post It Tape. It's just amazing! And it will last you quite a while. I have all the sizes, but the 1″ tape is the one I use the most.
You simply add the tape on the edges where you don't want ink, add your ink and then shift your Post It Tape. PRO TIP: allowing the ink to fade out at the edges adds tons of visual movement to even the simplest of cards making this easy to do technique a game changer!
This is just one cool ink technique you can use for card making, but there are many other ways. One of my most popular classes is Ink Techniques for Card Making. If you like this background and want to learn more things like it, check out this class.
Once the background was made, it's just a die cut, cut out flowers, and a heat embossed sentiment. Quick, easy, and fun!!!!
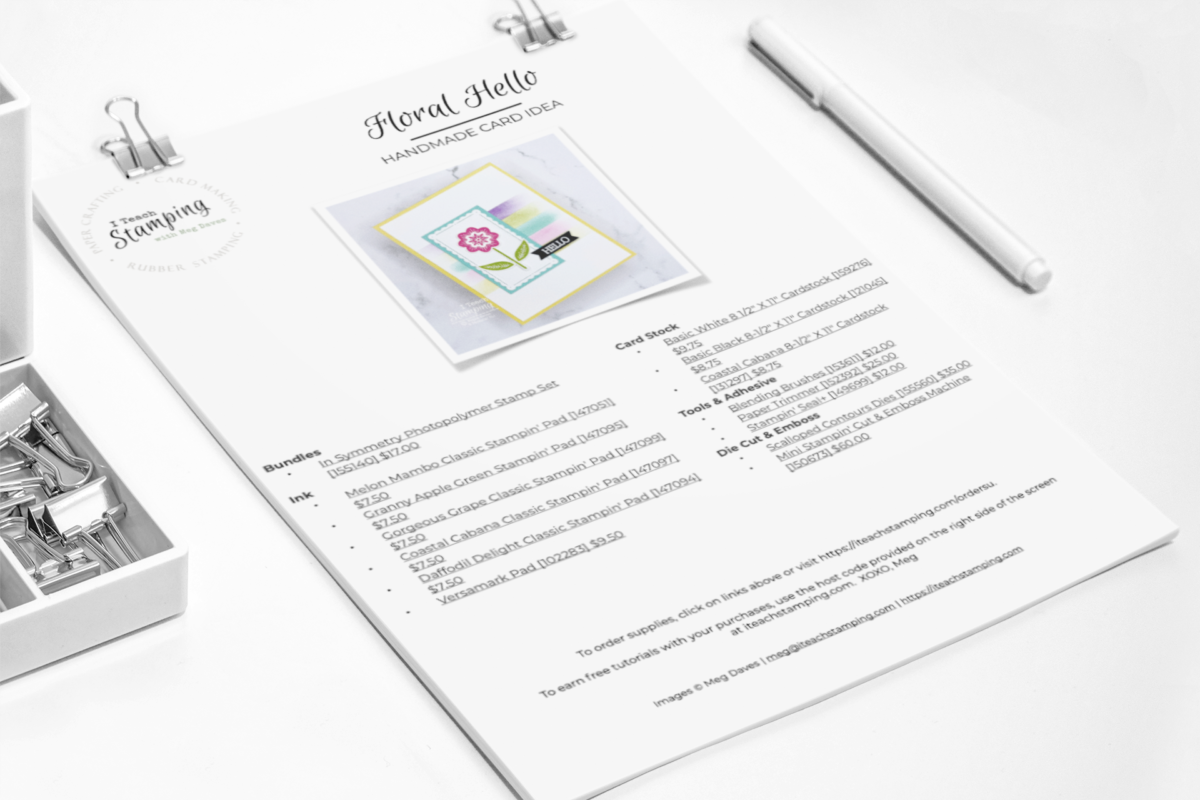
The Supplies

Not a lot of supplies, right? It's the ink that does all the work!
Project Printable
Want to print out this project? Awesome, here's a quick way to do that, simply click here.
Thank You
Thank you so much for stopping by and checking out this project. And seriously, if you haven't gone through the Ink Techniques for Card Making class, do it! Seriously, it's one of the most popular classes I have ever offered! XOXO, Meg


How pretty! Thanks for sharing at Vintage Charm!